

Maasai Mara- Tips to make your photography experience worthwhile


I decided to do this post after getting several questions on myinstagram about whether it's expensive to go to the Maasai Mara (as is the myth out there), stay there and shoot (for photographers and hobbyists) etc... Ideally, these are questions I always asked myself before I went there. It doesn't seem right to give you tips when I've just visited the first time does it? There's always someone out there who's as much in oblivion as I was so I'll go ahead and share as much as I can and attempt to not so discreetly share some images I shot.The most asked question:
BEST TIME TO VISIT

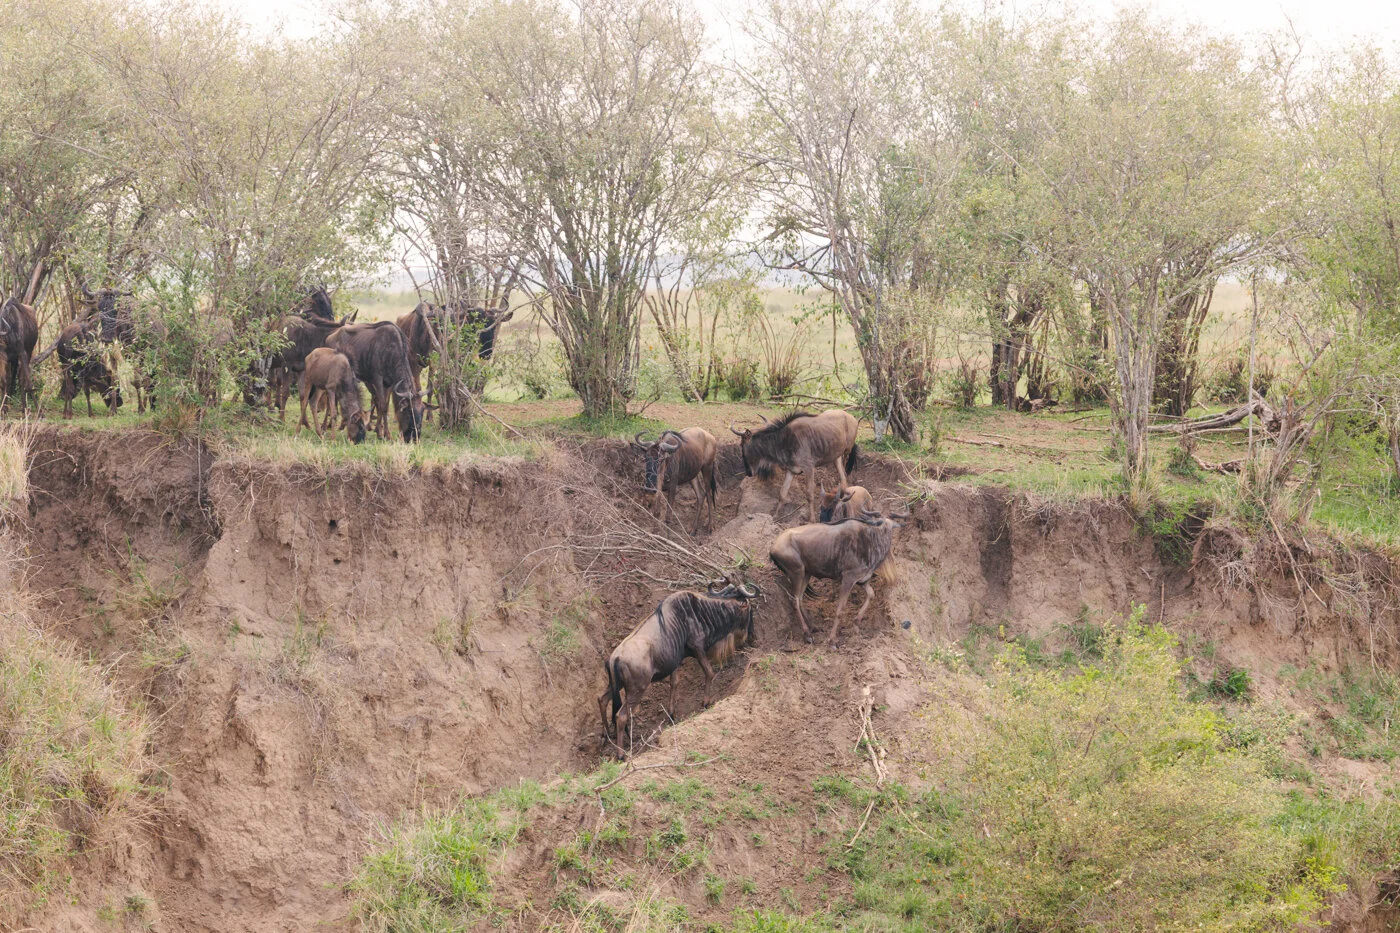
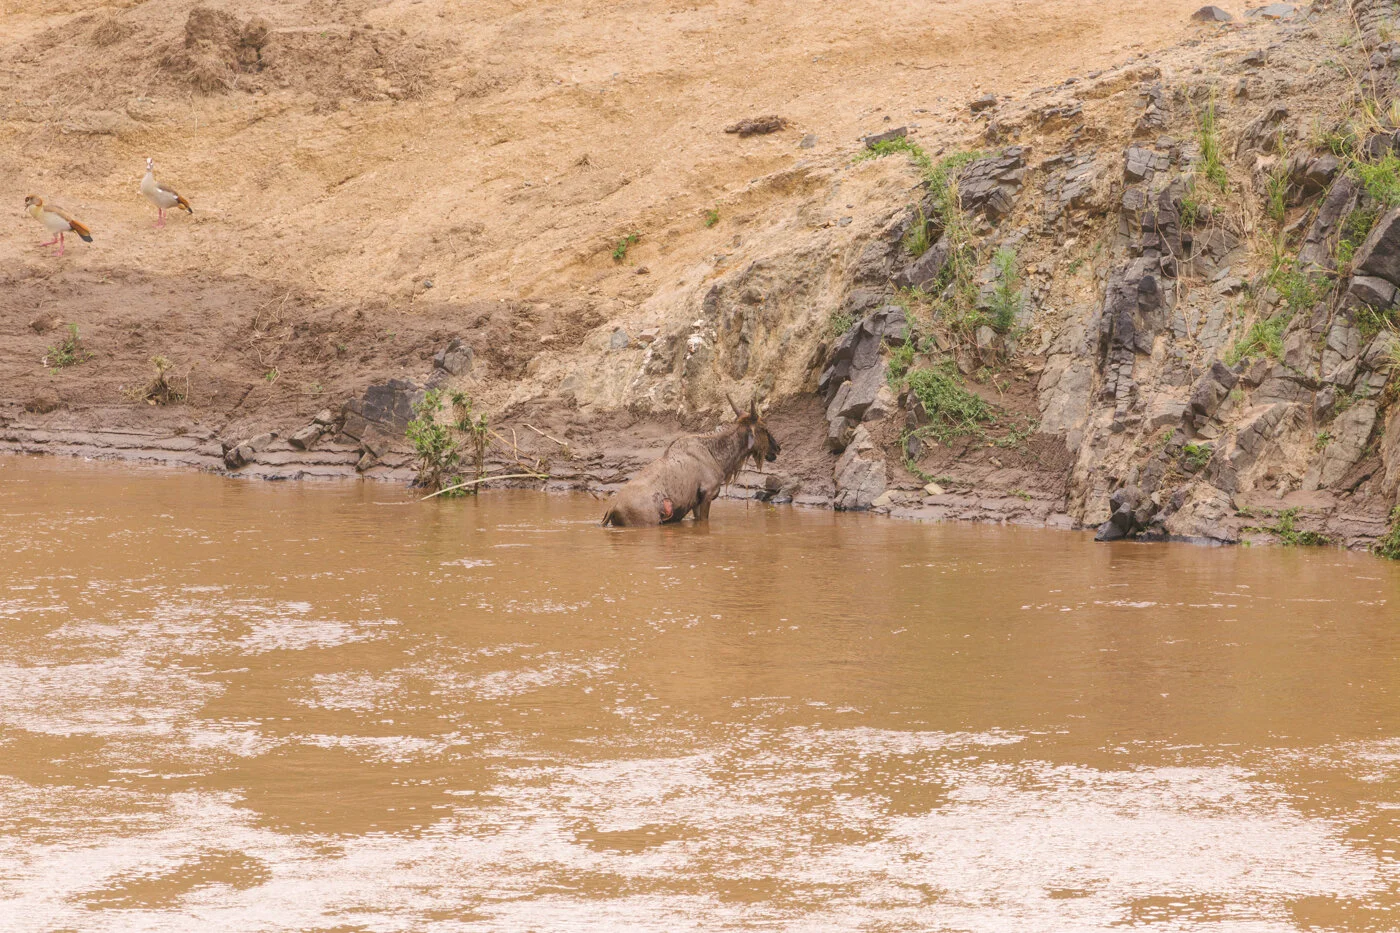

Before I visited the Mara, I never really thought this was anywhere close to what people consider. Then I remembered that we're dealing with nature, and mother nature always sets her rules accordingly. After doing some research, I found that the best time to visit is usually during the months of July- September/October thereabout. This is owing to the Great Migration, a spectacle that usually sees TONS of Wildebeest/Gnus cross over from the Kenyan side through the Mara River to the Tanzanian side.During this time, there's a lot of prey for the carnivores to feed on... Cheetahs, lions, crocodiles and even scavengers like vultures have a high chance of getting their prey in abundance.This guarantees you a good chance to at least see the Big Five if you have a proper guide.
WHAT TO TAKE NOTE OF
The most basic requirement is an Identity Card and park fees really. This will help you get access into the park after paying the requisite fees at the gates for yourself and the vehicle you're using. KWS parks arenow cashless and most of them accept Mpesa. The rates are all different depending on citizenship and residency. For example:
East African citizens (adults) pay Ksh 1000
East African residents (adults) pay Ksh 1200
Non Resident Adults inside the park pay US$70


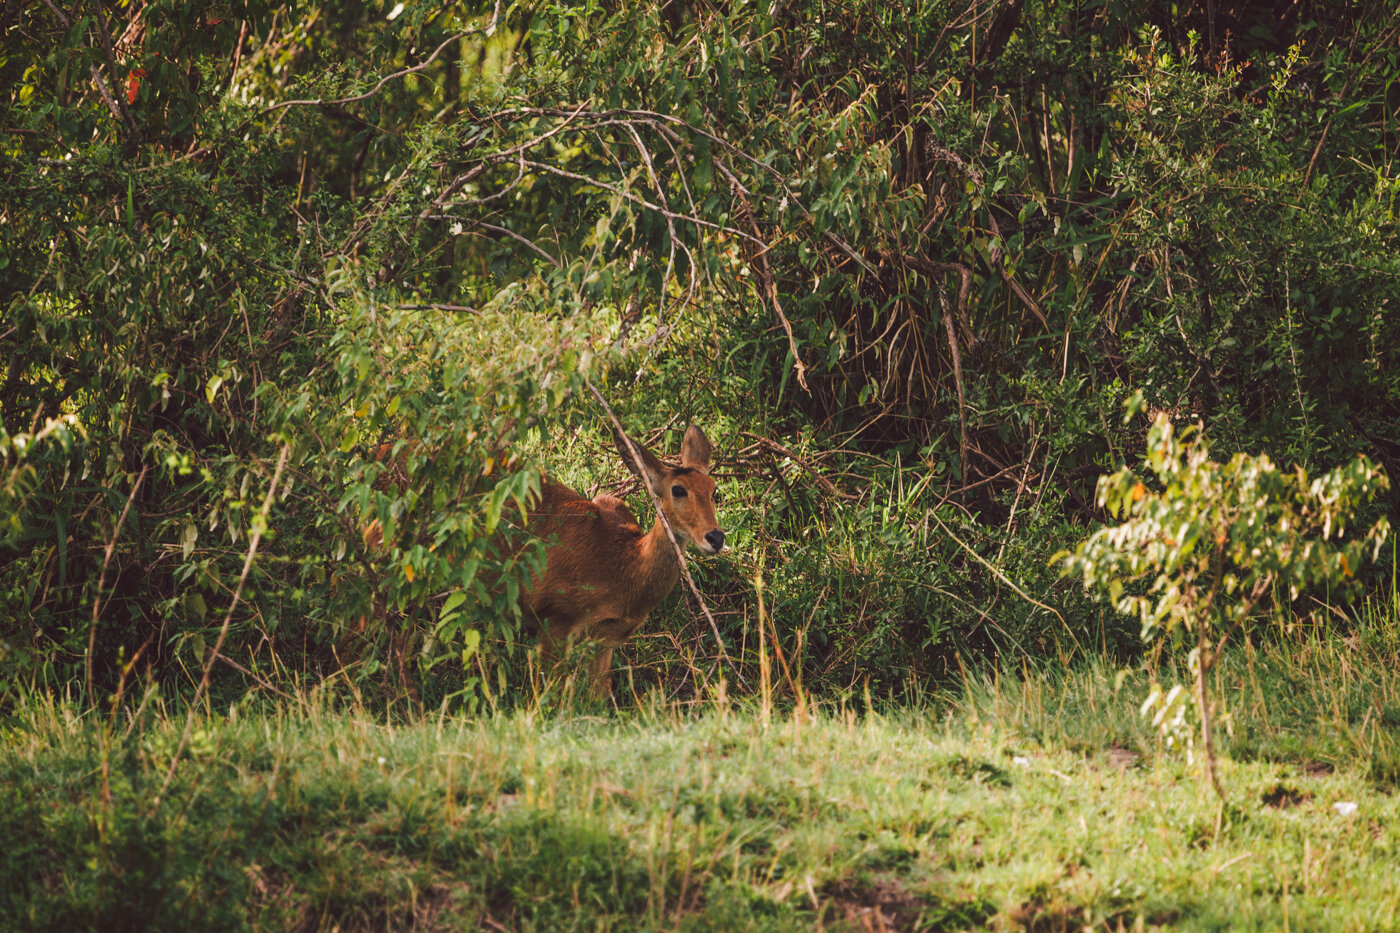
A detailed fee structure for citizens, residents and non residents can be found hereThe road to Mara from Nairobi is relatively good as it's currently (at the time of publishing this post) under road works. The journey takes around 5 hours. You will need a vehicle and a 4x4 is best for this. When it rains, you don't want to start praying to the heavens that got you stuck to get your vitz out of the mud (I have nothing against vitzes by the way), they will probably only listen to you and turn down the showers but they surely won't get you out. The terrain is vast and can easily change in a minute.If you're not keen on driving by yourself, there are plenty of tour companies that offer packages to the Mara for fair prices. Kiboslopes Safaris for example, offered a safari package for photography that I jumped on board for 3 days and 2 nights. This can always be customized for anyone depending on requests.I'd highly recommend them for this as I was able to maximize a 2 day photography experience by seeing and photographing the Big Five thanks to our driver, Jamal the Man! (I'll share more images in the next blog post).You also need a guide if you're not familiar with the terrain. If you're only there for two to three days, you really don't want to waste the experience by just seeing the endless lone trees. Trust me, they're beautiful as well.... but do you really want to not actualize the countless hours you probably spent lounging on the couch binge watching those epic Nat Geo wild hunts? For instance, in the image below, we had tracked leopards for almost two hours and had it not been for the radio communication that the guides and tour drivers use, it wouldn't have been possible to spot this elusive creature and track him to his hiding spot in the bushes.As for accomodation, there's plenty of places to stay including tented camps inside and outside the park that charge as little as 1,000Ksha night for pitching your own tent at the camp site as well as different hotels inside the park. You're free to choose. If you like winging it and watching (and photographing) the stars at night like I do, a tented camp should be more than enough...
MAXIMIZING YOUR PHOTOGRAPHY EXPERIENCE
This was supposed to be the main subject in this post, but I guess you can't maximize your experience if you really don't know where to stay, how to get there and what you need to carry with you...... 😝I'll try cover as much as possible while covering gear, technicalities, park rules etc... please do not crucify me as I'm no expert....
GEAR & TECHNICALITIES
It goes without saying that you will not photograph wildlife as you do portraits. This means you'll probably keep the camera but switch up on the lenses.
Camera: Any DSLR can do a good job for wildlife photography if you pair it up with the right lenses. The Pros go for the high end DLSRs such as the Canon 1Dx as well as the Nikon D5 etc for their faster frames per second. The shutters on those beasts fire up like automatic weapons and even match the pace Zulu drummers play their drums. However, crop sensors are preferred to full frame cameras. Without getting too technical, this just means that a crop sensor crops out the edges of the frame, which is effectively increasing the focal length giving you a longer reach, so with a 100-400, you're ideally getting 160-640mm on a Canon crop sensor (X1.6).

LENSES: This is the determining factor. You will definitely need a lens with a longer reach. The range of about 200mm and above will get you decent action. There's plenty of long lenses suitable for wildlife photography out there, however, most of them are pricy as they are heavy glass and have very durable build but their quality is top notch.

I shot most of my images using a 100-400mm lens which enabled me to get pretty close to most of the action as seen in the images below:


My personal favourite is shooting wide. I loved the Mara landscape and switching different lengths enabled me to get different images. This became a challenge at some point having to switch lenses on one body to get different shots of the same scene.You'd probably need two cameras with different lenses of different focal lenses attached to them to avoid unnecessary movements as well as missing the shot.


The above image was shot with a wide angle 16-35mm, at 35mm, The same scene from a tighter focal length at 304mm resulted in this Fellaini like tree up close 👇🏽
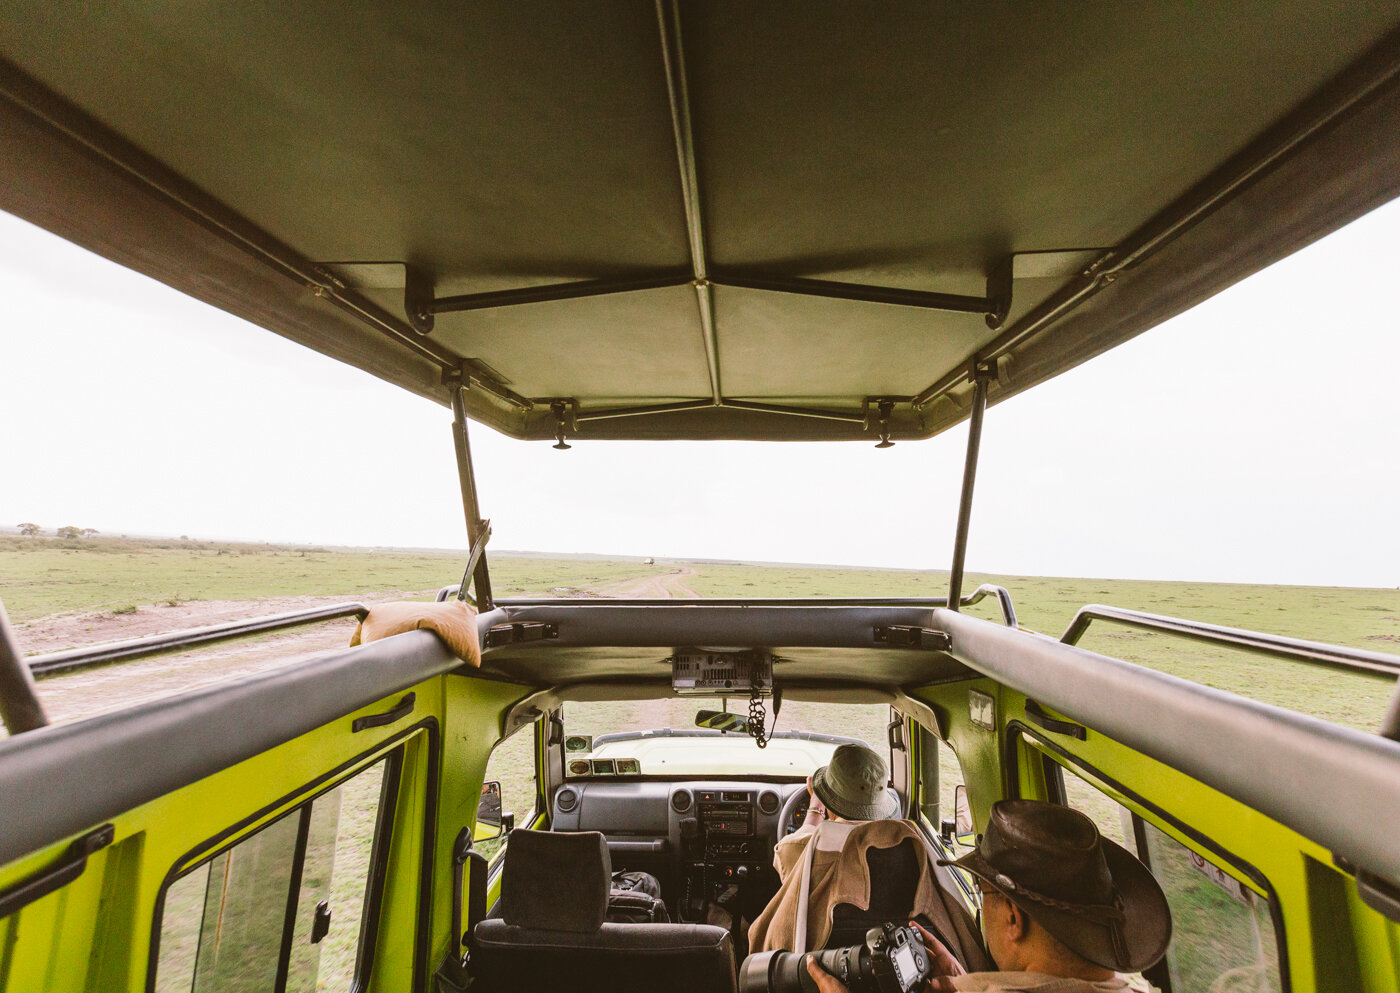
It also helps you convey different perspectives in a scene: For example in the following image I was aiming to convey the point of view of the gigantic size of elephants from inside the vehicle. BTW, I MUST ADD THAT THIS WAS MY FIRST TIME SEEING AND PHOTOGRAPHING ADULT SIZED ELEPHANTS. YOU CAN JUDGE ME ALL YOU WANT.....


From the open roof of the vehicle, I was aiming for a closer shot of the elephant at a longer focal length Okay enough about lenses. I think you get the point.
Bean bags: These are the most underrated when it comes to photographing wildlife. They easily go unmentioned. Kiboslopes was kind enough to provide some for us to help balance and reduce shake when shooting. With long and heavy lenses, it's very easy to have your camera shaking while shooting. An alternative to this would be using a monopod. However, I find bean bags much easier and comfortable to use if you're shooting from the open roof of a vehicle or from window height.
2. FAMILIARISE YOURSELF WITH PARK RULES
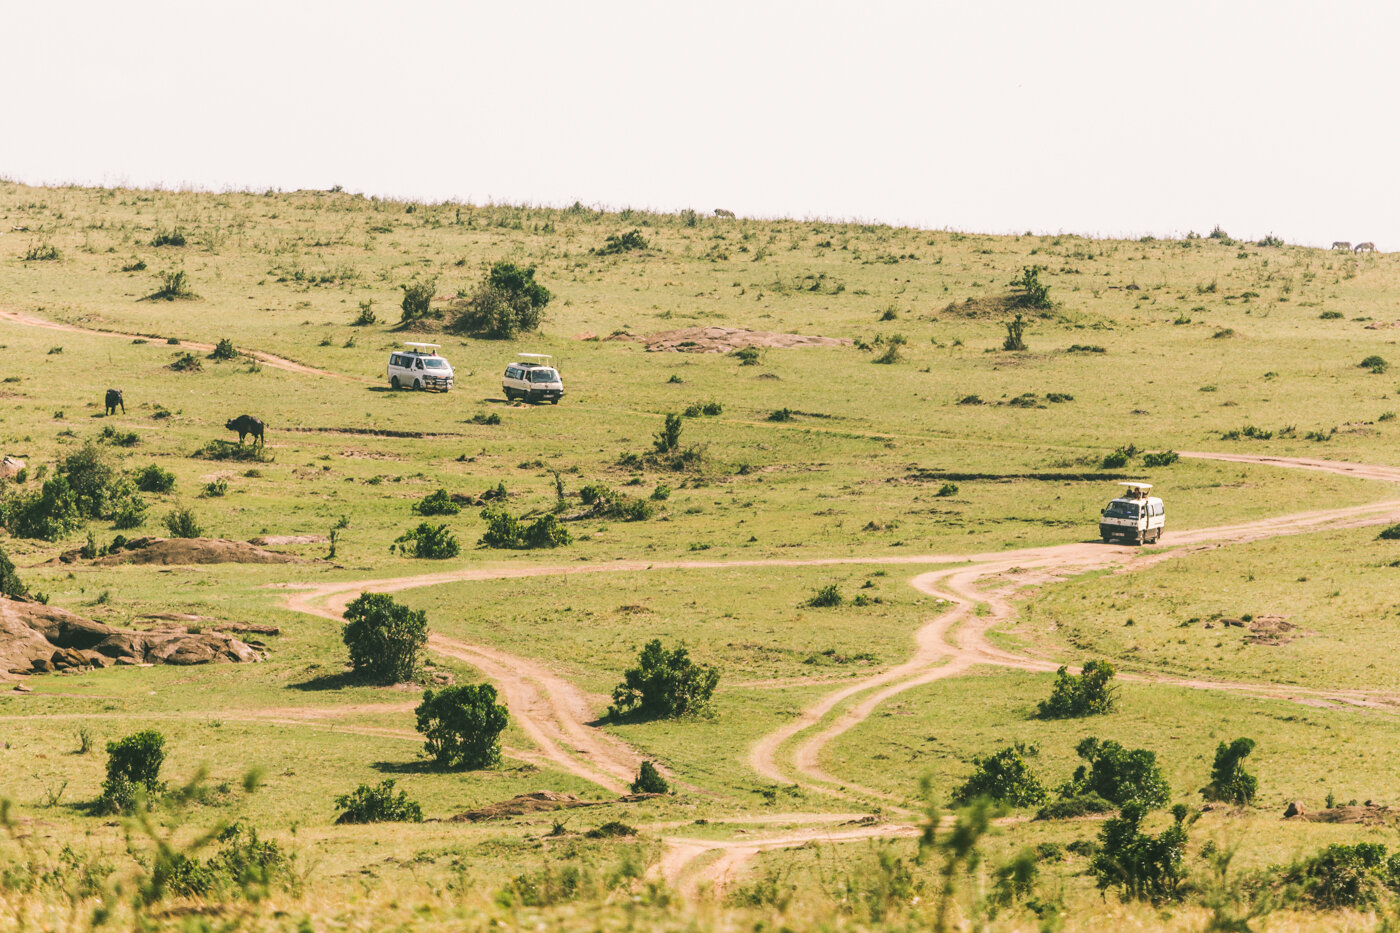

This cannot be emphasised enough. You are in a complete different environment where animals are priority, the least you can do is respect their habitat. In the parks, there is a common practice to flout park rules such as driving off road and this gets you a heavy fine, I've heard it could be as high as 100,000Ksh. If you need to do so, get a special permit from KWS which allows you to off road in special cases.One common practice I saw was drivers of tour vehicles maintaining order in viewing wildlife in a way that they satisfied their guests and kept their relationship with their fellow drivers as cordial as possible while still not interfering with the wildlife.Oh! Also, don't follow an off roading car, it could land you in trouble as you have no idea whether the vehicle has a permit secured or not. Be wary of following vehicles with "Do Not Follow Me" signs, most of these vehicles have permission from KWS to off road.Flying drones is also prohibited.The official KWS rules can be found here
3. MANAGE YOUR EXPECTATIONS


I grew up watching cheetahs hunt, lions attack in prides, hyenas and vultures scavenging, elephants bathing in mud, walking in herds like they were lining up to vote etc.... no I didn't grow up in the jungle or star in any of the God's Must Be Crazy sequels. I just watched a lot of National Geographic. The first time in the Mara, I had told myself that I had to see all these animals and now that I gained a new skill in photography, I had to photograph them all. Even see the Great Migration since it was happening at the time.Bummer, I should have known better. You can't force an animal to cross a river if it doesn't want to,You can't force a gazelle to get out of the bush so you can photograph it.....Or force your cousin to look straight at you.....Neither can you force a zebra to stop flaunting its ass (as nice as it is, I mean look at the stripes) and look at you so you can photograph it...You simply can't force nature to bend your way. So you have to learn how to be patient as you wait for the right moment. That's what I believe makes a good photograph in the wild. I also learnt this from viewing Clement's images. Check him out by the way, he's so good at it and offers photography safaris for both citizens and non citizens in the Mara which you can find out more of from his website !
4. TAG SOME FRIENDS ALONG


A little fun never hurt! Tag some people along and make the trip more interesting. They can go a long way in occupying you as you wait for an animal to make a move and also be good models when you're at a look out with plenty of assurance of the absence of animals, not even a stray hyena....See, it's not just about the animals....
5. PLANNING FOR GOLDEN HOUR

"Man, there's nothing as beautiful as an African sunset" is a statement I've always heard time and time again.... and I agree. Once you've witnessed the sun setting and rising in the Mara, you never want to argue with that statement. EVER. For sunrise, try and get into the Park early. The gates open at 6AM but you can request the rangers to let you in earlier if you're a smooth talker. Try scope for a perfect location where you can get the sun as it rises. Occasionally, animals do stroll into your shot as I was one time too lucky on one morning... Lone trees are also very present in the Mara Landscape and will almost always appear in your shots... (I might be defending myself since I have a lot of images with #ThatMaraTree in frame) For sunset, scope out a location as you drive around the park where the horizon lines up well with the sun as it sets and you're good to go... that's if you have that kind of shot in mind... However, it's best to be close to the gates as well if you're staying outside the park as the gates close at 6.
6. WATCH THE VIDEO I MADE
Watch this and more on my Youtube https://www.youtube.com/watch?v=iFczpG6VzFU
END
Hope this helps someone out there, doesn't matter if you're a photographer or not. If it did, now or in the future, please do let me know!Will share more images that I shot from this trip in the next post! So do come back soon and keep refreshing until you see it....That's me trying to be accountable to myself by the way!Adios!